How To Build A Garden Mudhead
A bolt of inspiration
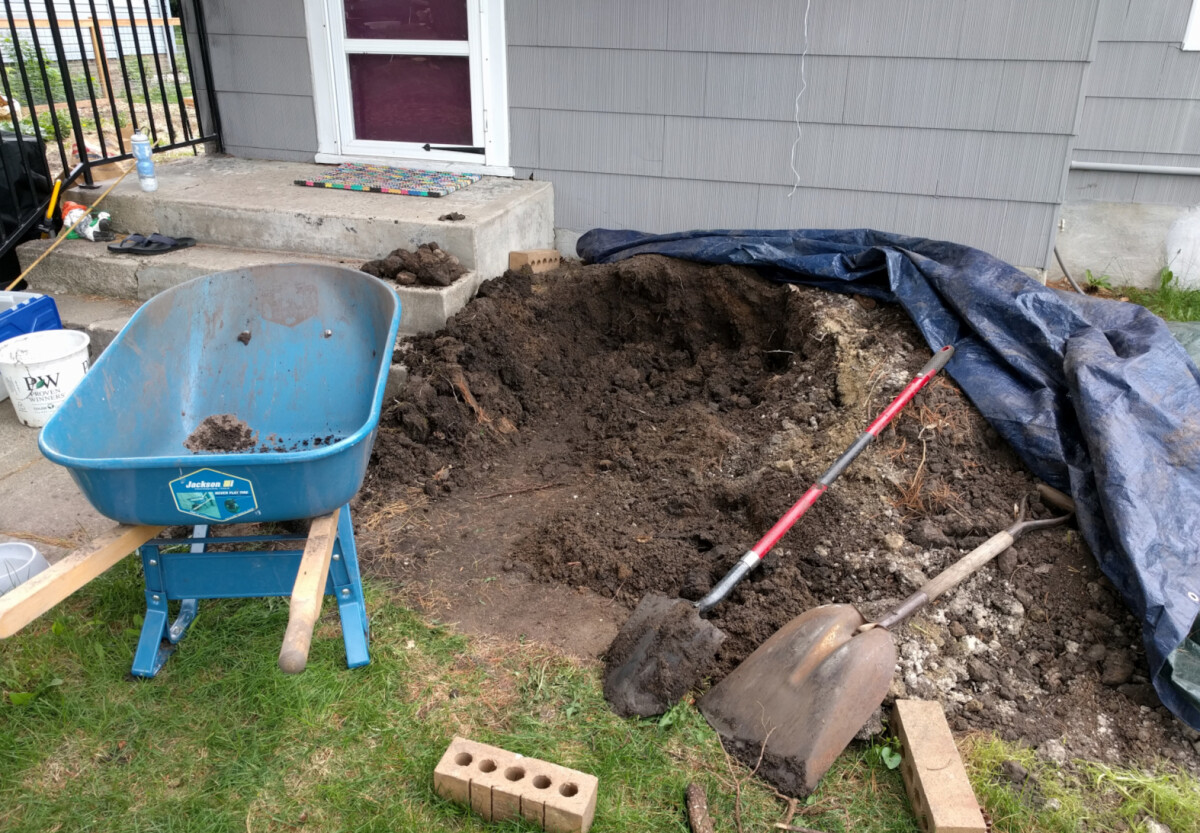
The basement egress window installation left us with a giant pile of dirt.

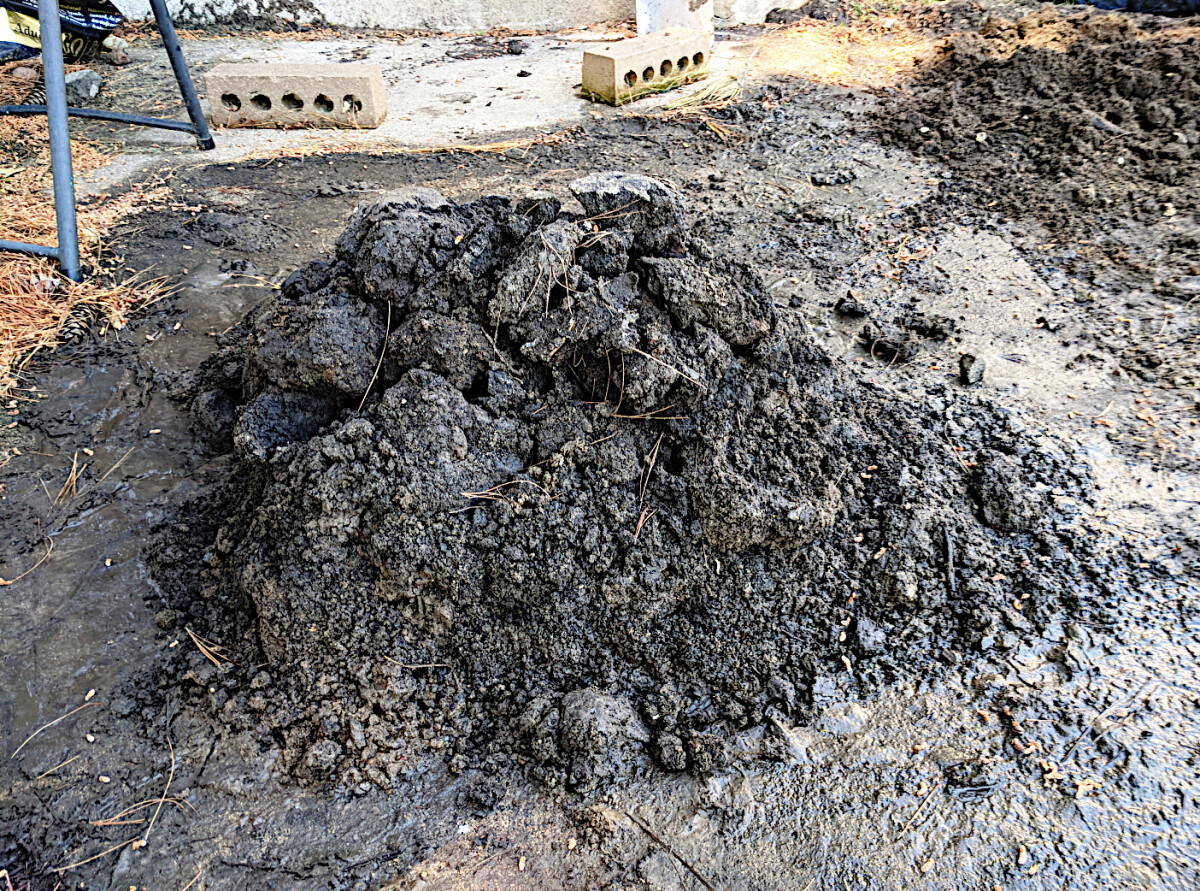
I slowly redistributed this to other places around the yard as I added garden beds, but some of the the subsoil they had dug up was heavy clay. Hard to work within garden beds, not great for plants, and if left on the surface, prone to drying into useless rock-hard chunks. I started separating out this clay soil and setting it aside as I moved all the other stuff, so as I reached the end of the pile I was left with probably about 20 gallons of clay soil with no real purpose.

As I contemplated what to do with all this clay, one particular idea floated to the top and stayed there. In season 2 of the delightful Big Dreams, Small Spaces, Monty Don helps the mildly eccentric Frankie renovate her country cottage garden. Frankie pursues her garden dream of a mud head against Monty's direct advice. It's a completely mad idea and she absolutely nails it.
I mentioned the mud head to Katherine and she, much like Monty, expressed extreme skepticism about the idea. Well guess what? Frankie and I both know that sometimes you just gotta believe in yourself and your weird mud head, and that anyways you can just wait until the doubters aren't around and build it then.
I tried to do some research and found a dearth of information on mud head construction methods. Apparently there are not a lot of people in the world building mud heads. I can't imagine why.
It seems likely that mud sculpture is an ancient art, but any information about traditional methods must be buried in anthropological journals or something. There are a couple famous mud sculptures that get some press, but most of these are large and seem to incorporate something like a mesh structure to be fitted with moss plugs. My mud head was going to be much smaller and less sophisticated, plus situated in full sun without regular watering. This meant moss was likely out as a covering and I was on my own design-wise. I decided not to overthink it and que será, será.
Let's go
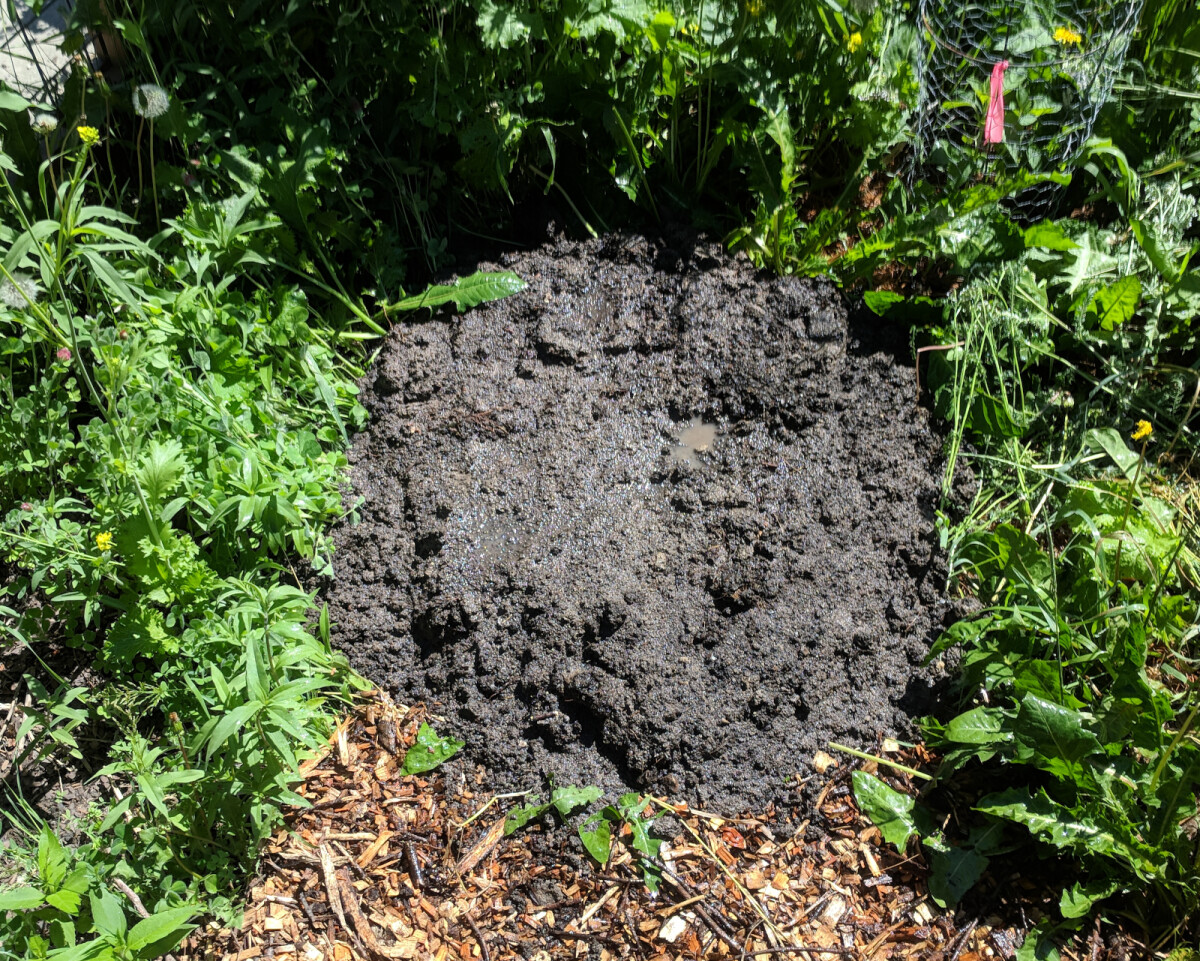
Construction was pretty simple. The dirt had been under a tarp and was at a good level of moistness. I hauled it to the spot in a five-gallon bucket, one load at a time. First I built a base platform and "watered it in", trying to get rid of air pockets for a solid, stable foundation.

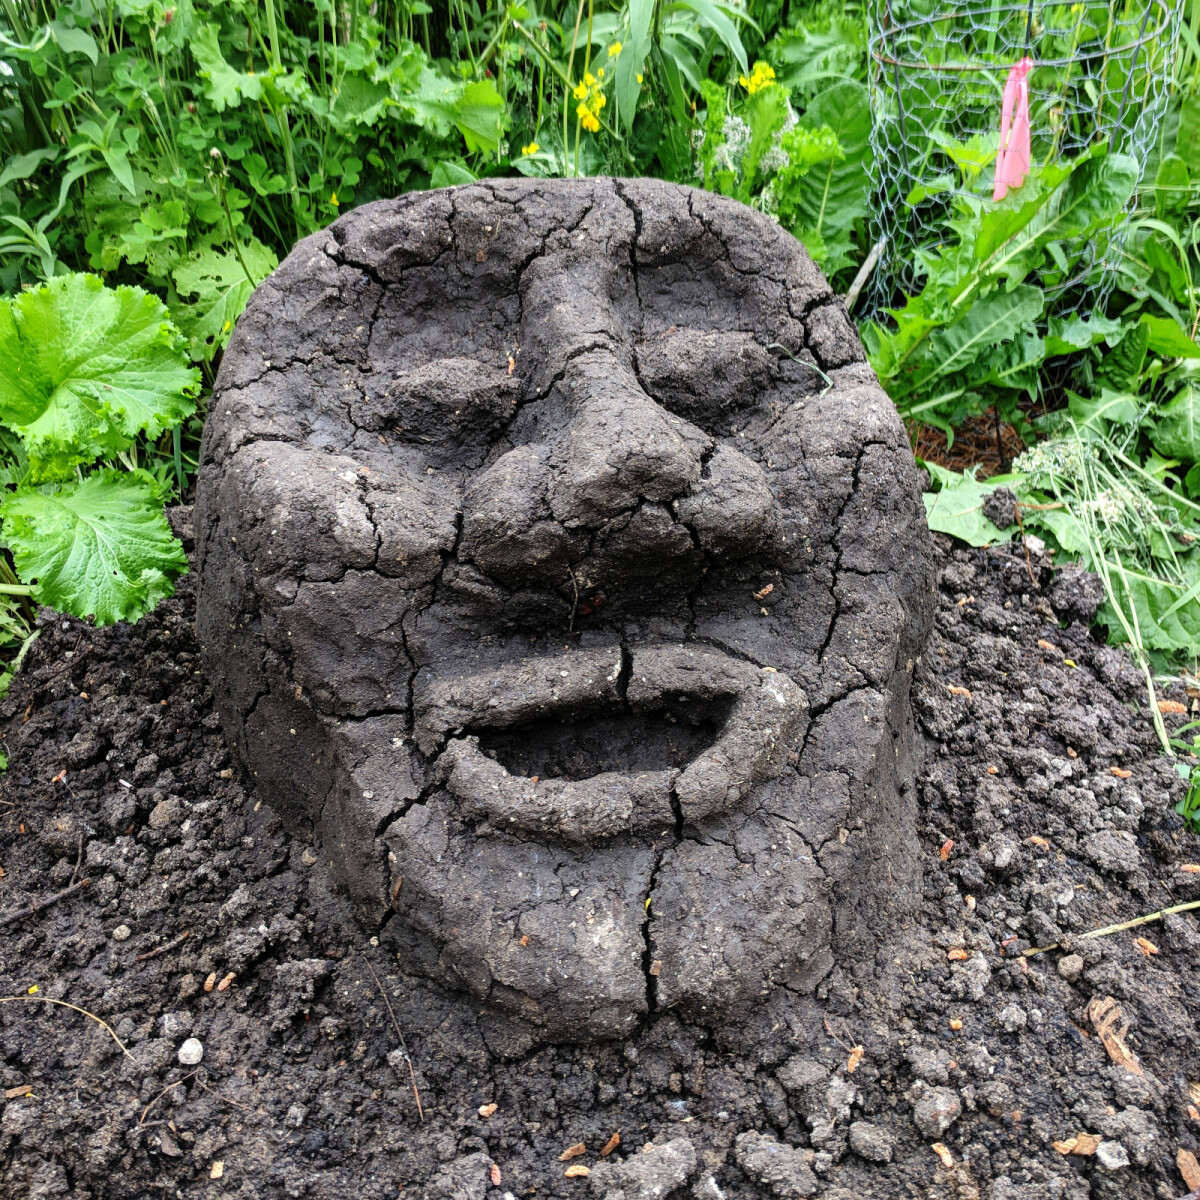
Once most of it was there, I shaped it into a rough head and started molding the densest clumps of clay into the features. I shaped it on a gentle slant and tried to design the face so that there were no wells where water would collect. Once the features were roughed in, it was just a matter of refining the shape and prominence of the features and adding details until it looked the way I wanted (suitably dramatic). I gotta say, it turned out better than expected.
With the head finished, I smoothed the surface as much as I could and left it to bake in the hot sun, hoping that would harden up the outer shell. I had intentionally chosen a period of time in midsummer with a dry, sunny forecast to tip the odds in my favor. Katherine told me it was weird and then didn't bring it up again. Her loss if she's not going to appreciate my work of art.
Long-term performance
The initial plan worked well and the head firmed up nicely. I also covered it with a tarp during rain for the first few weeks, hoping if I gave it more time it would become more resilient to weathering. It developed a few cracks as it dried, which I tried to patch up.

Sadly, as I had suspected, unfired clay soil just doesn't have the strength to hold up to Midwest weather. The head did okay for a while after I exposed it to the elements, but within months it was showing definite signs of degrading. The nose fell off at some point (shoutout to Egypt's sphinx, ze gets it). By the end of the summer, the head had degraded to the point of not being recognizable. I left it where it was, to become a mound of soil slowly melding back into the landscape.
I suspect the secret to making a mud head maintain its integrity would be to cover it in living plant matter. Roots would stabilize the soil structure and leaves would shield it from battering rain. Moss is a likely candidate but didn't seem likely to do well in my site. The most promising idea I came up with was Elfin Thyme, a cultivar of thyme that is especially low growing with small leaves. If Elfin Thyme could establish successfully, it ought to spread to eventually form a thick, low mat of vegetation hugging the surface.
I suspected that given the small size of my mud head (about 1.5 feet in each dimension), the features would likely be drowned out by a cover of vegetation. It would also have taken a fair amount of effort, and I wasn't quite invested enough in this idea to commit to that. Thus, my decision to let this be an ephemeral masterpiece, soon to exist only in memories.
If I were to set a goal in the future of establishing a permanent mud head, I think I'd aim to make it substantially larger (maybe 5 feet in each dimension), reinforce it with mesh or straw cob, and plant it immediately with plugs of thyme. Katherine better watch her back. You never know when I'll get a burst of motivation.
Time & Materials
| Sculpting | 2 hours | |
| Maintenance | 0.5 hours | |
| Total | 2.5 hours | |
| Clay soil | free | |
How To Build A Garden Mudhead
Source: https://house.youngram.net/the-mud-head.html
Posted by: stevensonablents.blogspot.com

0 Response to "How To Build A Garden Mudhead"
Post a Comment